How do I quickly create a Patient?
Print
Modified on: Thu, 10 Dec, 2020 at 9:59 AM
We understand that there are some days when the clinic may just be overloaded with work or there is a critically ill patient that needs to be admitted for emergency treatment. In such cases, it may not be possible to go through the standard procedure for admitting a patient. The good news is, we have taken this into consideration and you are able to quickly create a patient from both web and iPad:
From the web
1. Tap + Add Patient button:

2. Enter the patient Name and choose the treatment Template to start. If you do not want to add more details at the moment, please click Done:

Although the other required fields will be filled in automatically, we recommend you to click Show More Information button and check them:
3. Treatment Begin at and № of Flowsheets will be entered by default, but we advise you to check and edit these values as they cannot be edited later:

4. Also, to enable all the medication and fluid calculations, please enter the patient's Weight.
NOTE: If no gender option is selected on the Patient tab (highlighted in blue), the patient's gender will be set to Unknown (U):

5. Once ready, click Done.
You can then proceed with your treatment and later fill in the rest of the details as described HERE.
NOTE: The Whiteboard will be selected by default. To ensure that the patient is admitted into the right department we recommend choosing the appropriate Whiteboard with your initial patient creation.
Learn how to quickly create a patient from the web HERE.
Please note that the videos are an illustration and are subject to change as our product evolves!
From the iPad
1. In the top left corner of your whiteboard click on the + sign, and select Create a Patient option:

2. From the Quick Info tab, choose the treatment Template (you can change it later as described HERE) and enter Name:

OR Patient file Number (if your account integrated with PIMS):

If you do not need any additional information, you can click Save and start the treatment. However, we also recommend you to take the next steps:
3. To save your time, the Treatment Begin at and № of Flowsheets will be entered by default, however, we advise you to check these values as they cannot be edited later. To do this, do to the General tab and make edits if necessary:

4. We also recommend you to tap on the Take Photo or camera icon and take a picture of the patient:

5. Entering the Weight of your patient will ensure that it is available for all medications, fluids, or parameters that require calculation. For this reason, we suggest entering the weight (from the Quick Info or Patient tab) in the initial patient creation phase.
NOTE: If no gender option is selected on the Patient tab (highlighted in blue), the patient's gender by default will be set to Unknown (U):

6. Once ready, click Save.
You can then proceed with your treatment and later fill in the rest of the details as described HERE.
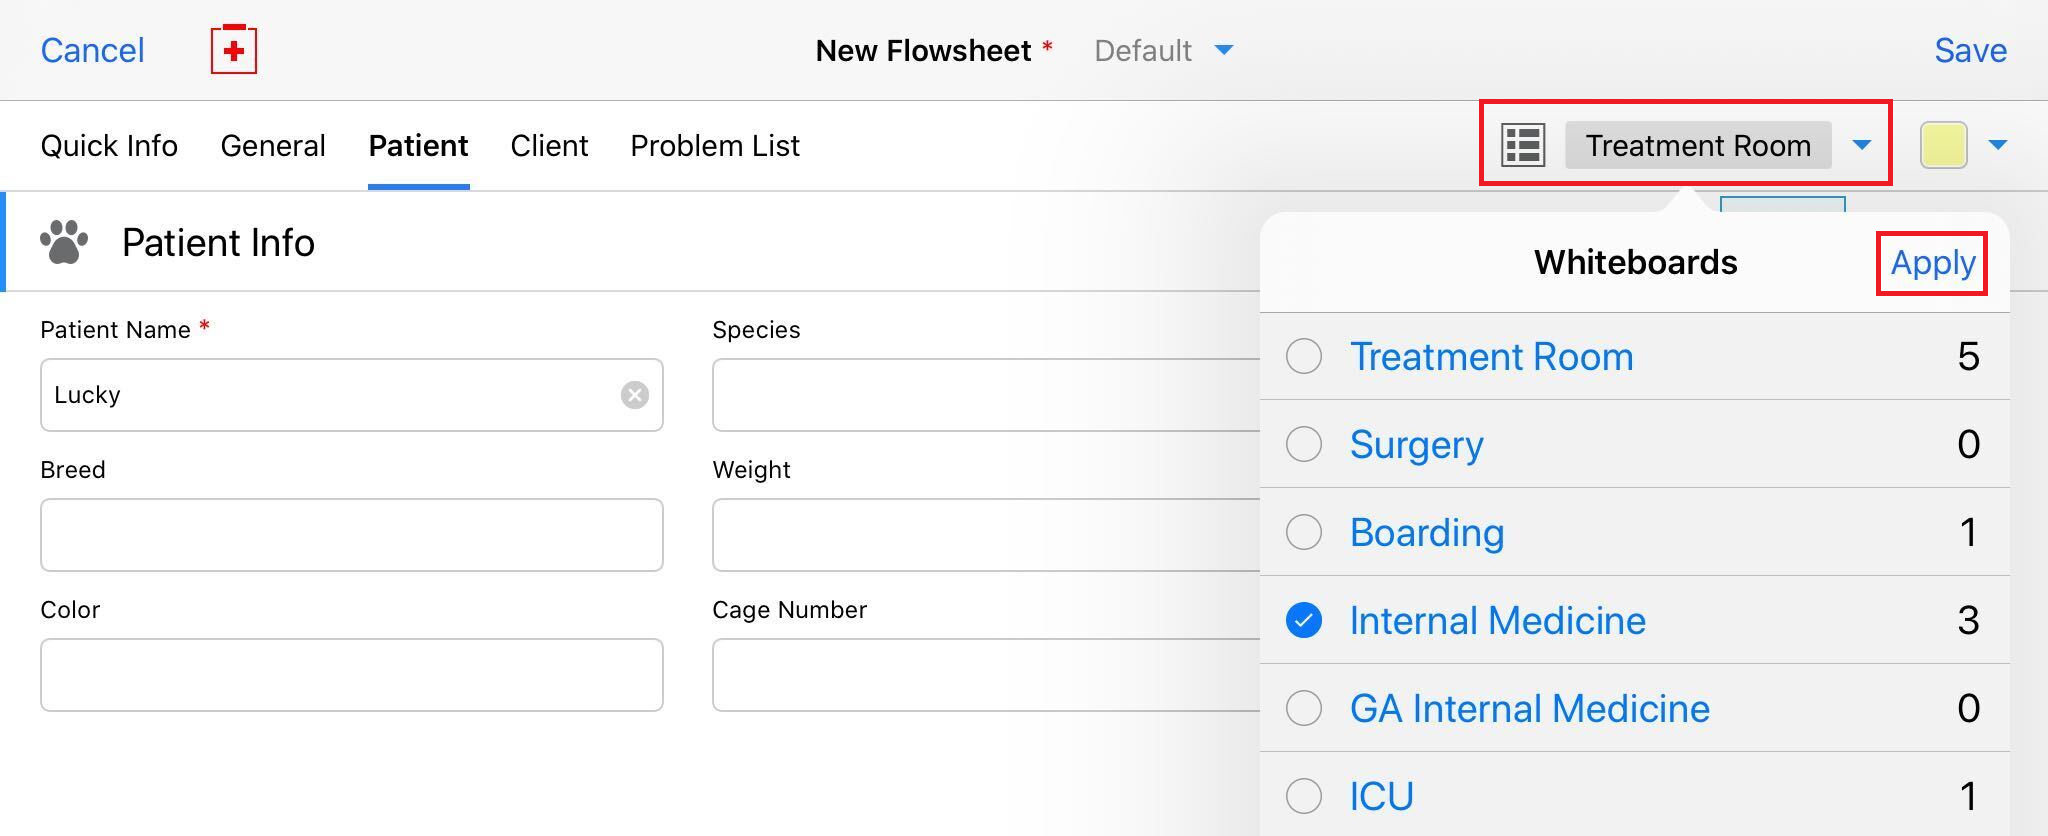
NOTE: The Whiteboard will be selected by default. To ensure that the patient is admitted into the right department we recommend choosing the appropriate Whiteboard with your initial patient creation. To do this, tap on the whiteboard name, select a single whiteboard or multiple whiteboards by clicking on the check-boxes beside the whiteboard names, and then Apply:
Did you find it helpful?
Yes
No
Send feedback Sorry we couldn't be helpful. Help us improve this article with your feedback.