What do the icons in the top navigation bar of the iPad app really do?
Print
Modified on: Tue, 19 May, 2020 at 7:30 AM
To make the most common SmartFlow options easily accessible from the iPad, we gathered them all in the top navigation bar. Please discover more about these options and the difference in top navigation bar for the patient Flowsheet, Anesthetic Sheet, Dental Chart, and Forms Dashboard.
On the Flowsheet
From the top navigation bar it is easy to access:

1. Whiteboard - to open the whiteboard view;
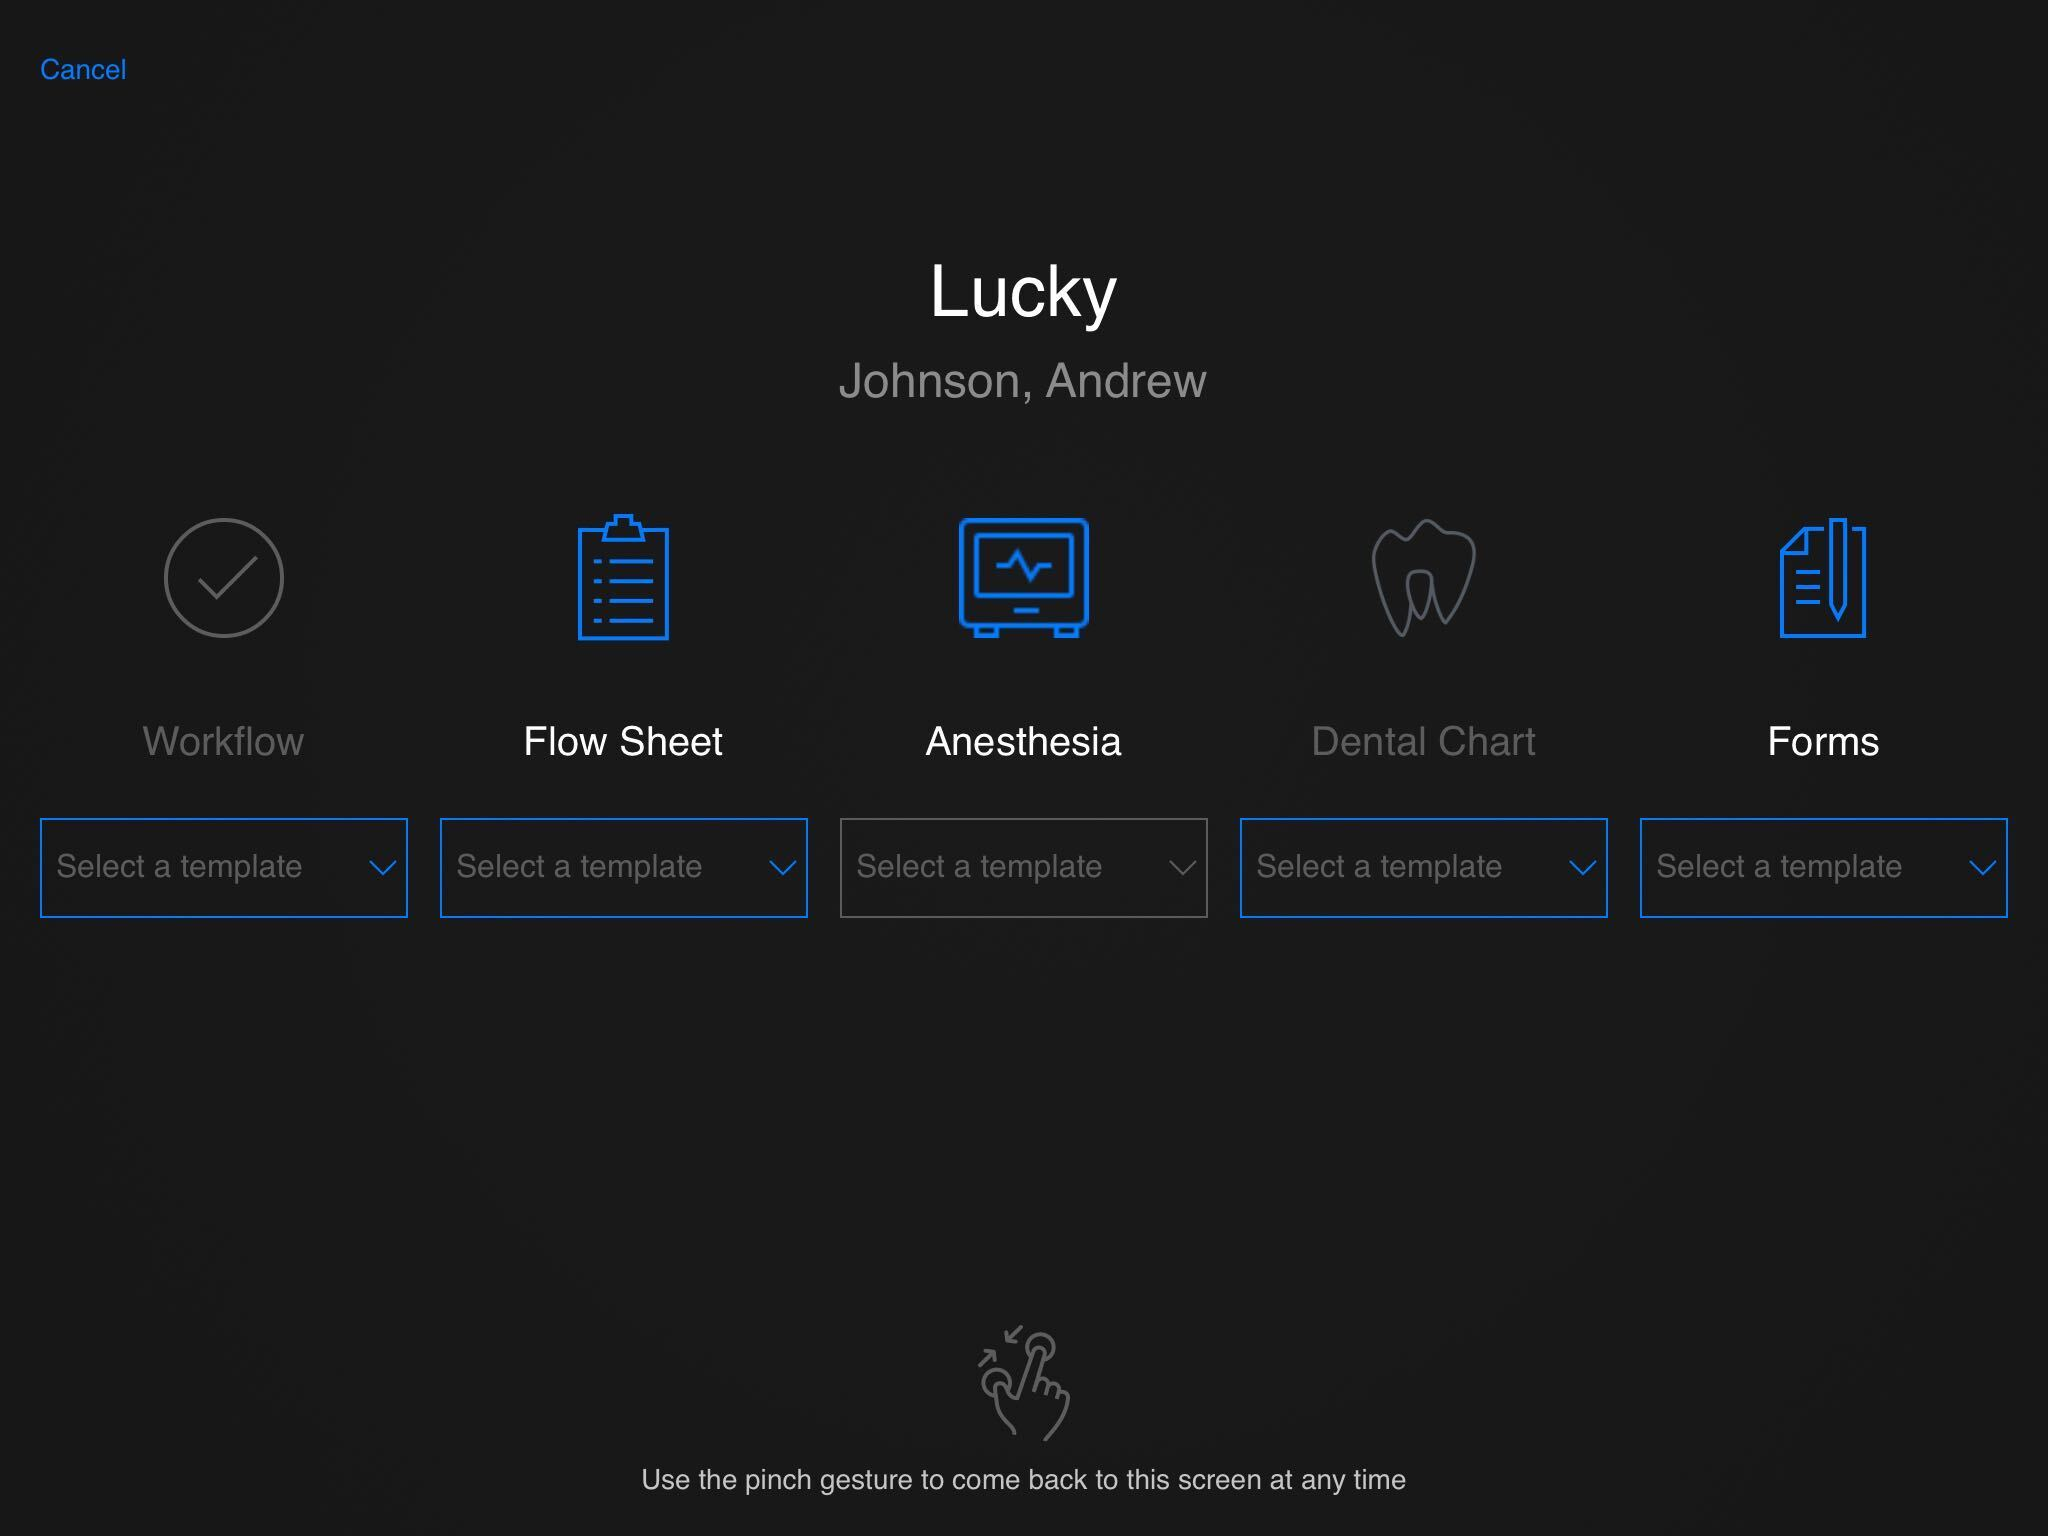
2. Dashboard - the Dashboard is your central hub for that particular patient. Here you will see Workflow, Flow Sheet, Anesthesia, Dental Chart, and Forms options. This screen is also accessible by using the pinch gesture from almost all screens on the iPad):
3. Emergency Drugs - opens the emergency drugs page;
4. Note - takes you to the notes section;
5. Edit - takes you to edit the treatment sheet and task list;
NOTE: When you are in the editing mode the Floppy disk icon will appear instead. Please click it to save any changes made:

6. Menu - opens the drop-down menu that contains additional options, depending on whether the flowsheet is in regular or editing mode:
Menu content (Regular mode)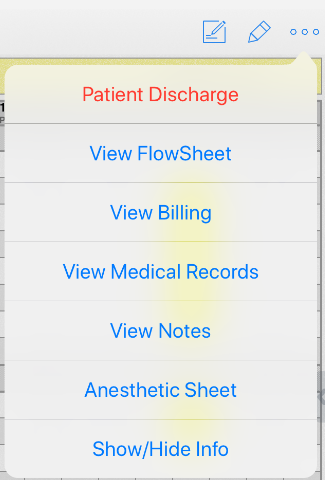
| Menu Content (Editing mode)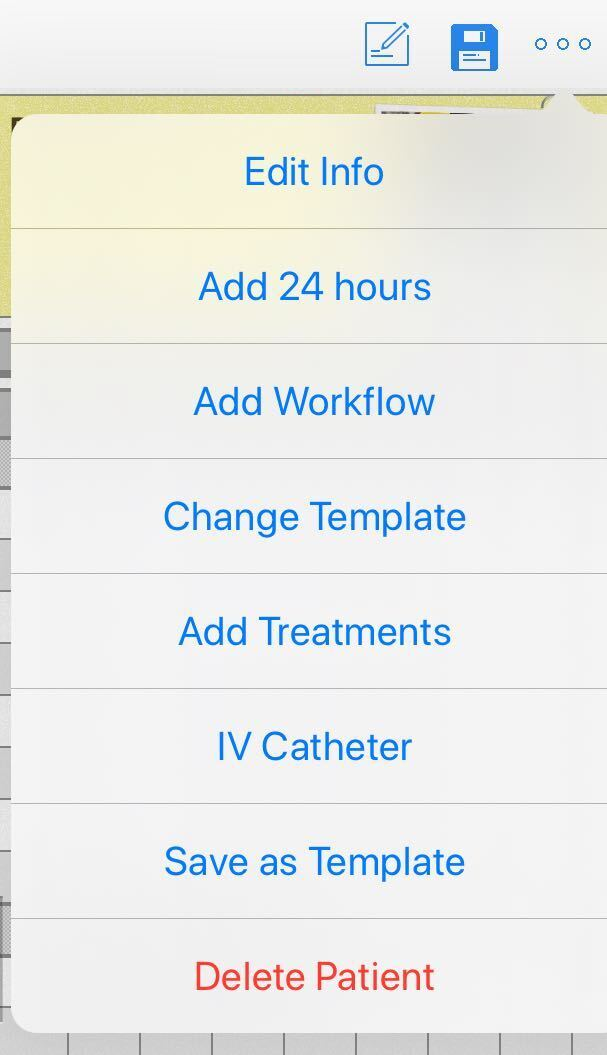
|
NOTE: If User Security on the iPad is enabled in your clinic, available options will be different from the example above, depending on your role.
In the middle of your page, you can see the date and arrows on both sides:
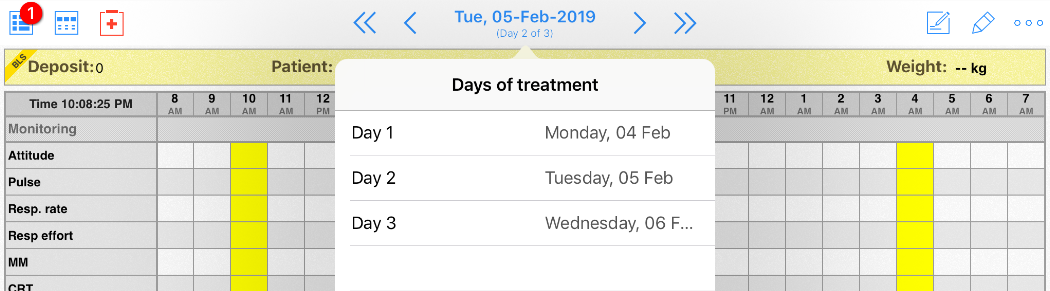
Single arrow (<, >) - can transfer you to the next or previous day of treatment;
Double arrow (<<, >>)- takes you to the first/last day of the visit;
Exact date (in between) - opens the drop-down calendar menu where is possible to select the date of treatment you want to look at.
NOTE: For your convenience, the same navigation options are available from the web version (please find more details HERE).
On the Anesthetic sheet
From the top navigation bar of the anesthetic sheet it is easy to access almost the same options:

1. Whiteboard - go back to the whiteboard view;
2. Flowsheet - return to the patient's treatment sheet;
3. Dashboard - redirects you to your central hub for that particular patient with the Workflow, Flow Sheet, Anesthesia, Dental Chart, and Forms options. This screen is still available by using the pinching gesture from the iPad).
4. Dental Chart - enables to switch between the Anesthetic Sheet and the accompanying Dental Chart with one click.
The rest of the icons remain the same.
Similarly, for the flowsheet, the Menu - opens the drop-down menu that contains additional options, depending on whether the anesthetic sheet is in preoperative or editing mode:
Menu content (Preoperative mode)
| Menu Content (Editing mode)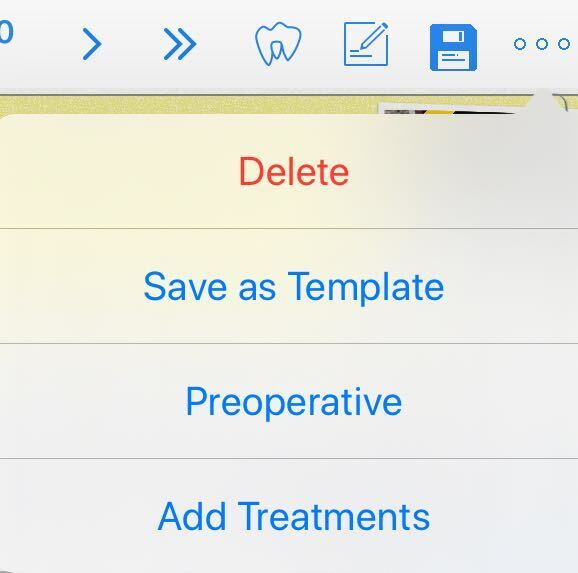
|
NOTE: When you are in the editing mode the Floppy disk icon will appear instead of the pencil (Edit icon). Please click it to save any changes made.
On the Dental Chart
The options in the top navigation bar are almost the same as on the Anesthetic sheet, with only one significant difference:
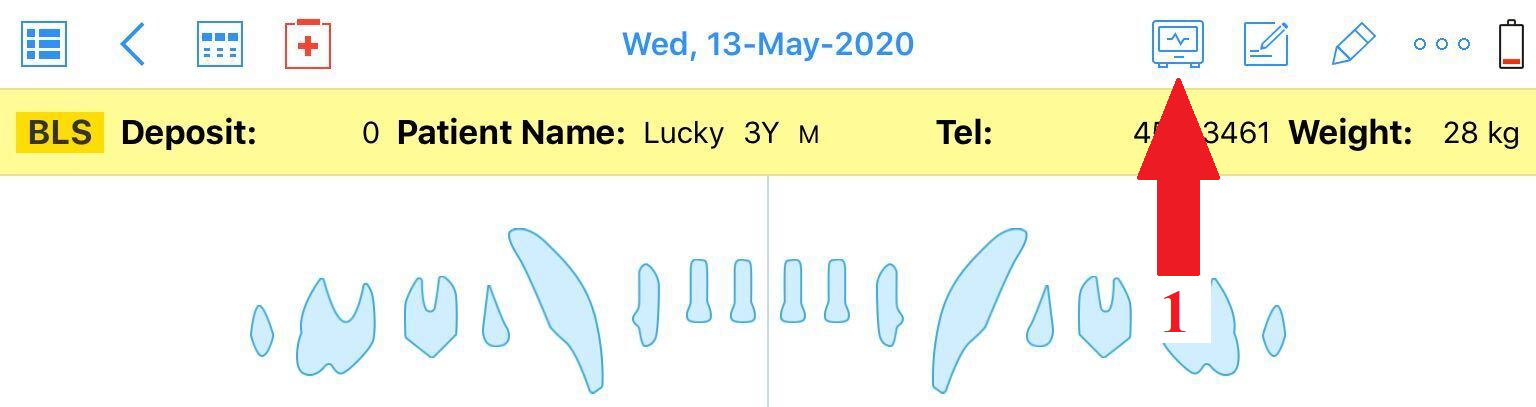
1. Anesthesia - return to the patient's active Anesthetic Sheet.
The Dental Chart menu also contains additional options, depending on whether it is in the dental Examination or Editing mode:
Menu Content (Examination mode)
| Menu Content (Editing mode)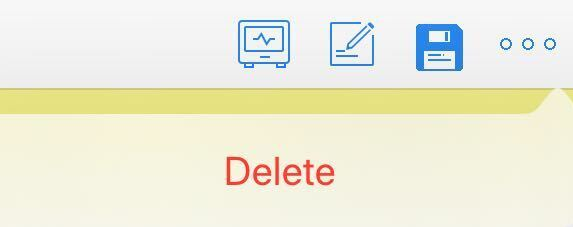
|
NOTE: When you are in the editing mode the Floppy disk icon will appear instead of the pencil (Edit icon). Please click it to return the Examination mode.
On the Forms Dashboard
The top navigation bar on the Forms Dashboard contains the usual options:

1. Flowsheet - return to the patient's treatment sheet in one click.
NOTE: The only action available in the editing mode is to remove unfinalized Forms (highlighted in blue). If there are no unfunded documents, as in the screenshot above, you will not notice any changes by taping the pencil-like icon. More information can be found HERE.
We hope you found this information useful!
Did you find it helpful?
Yes
No
Send feedback Sorry we couldn't be helpful. Help us improve this article with your feedback.