How to set up auto-send of a patient to Smart Flow?
Print
Modified on: Fri, 25 Oct, 2019 at 12:33 PM
To get patient automatically send to Smart Flow, please select the Auto-Send to Smart Flow option in General management > Utilities > Integration Setup Wizard:
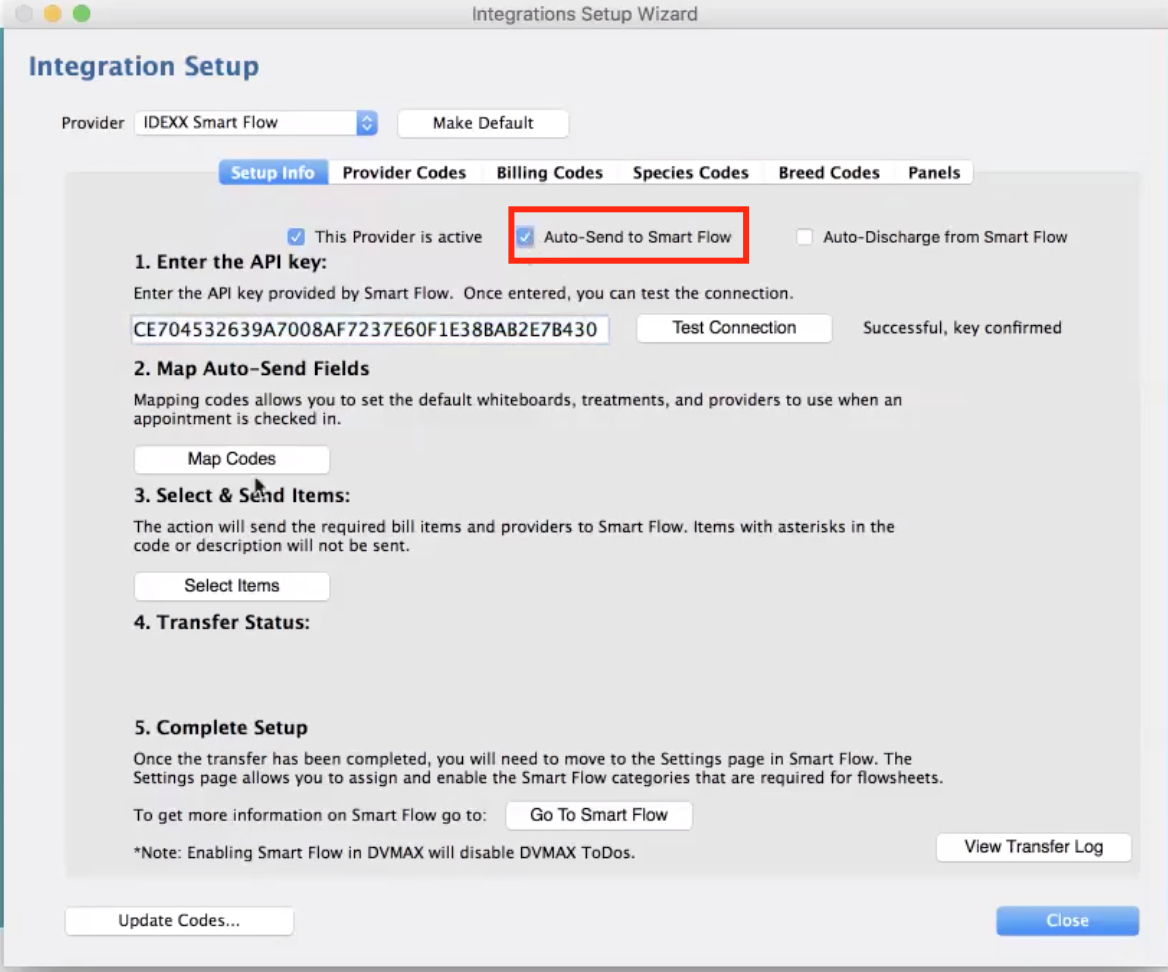
In order to make sure that the patient has been sent to an appropriate Whiteboard with an appropriate Treatment Template, please make sure that mapping was performed correctly.
NOTE: If you have the Visit Reasons not linked with the Templates, the patient won't be sent automatically to the Smart Flow. Therefore, if you do not want to use the auto-send feature, you can skip the Visit Reason mapping and send patients manually. You will have a chance to switch on the auto-send option at any time.
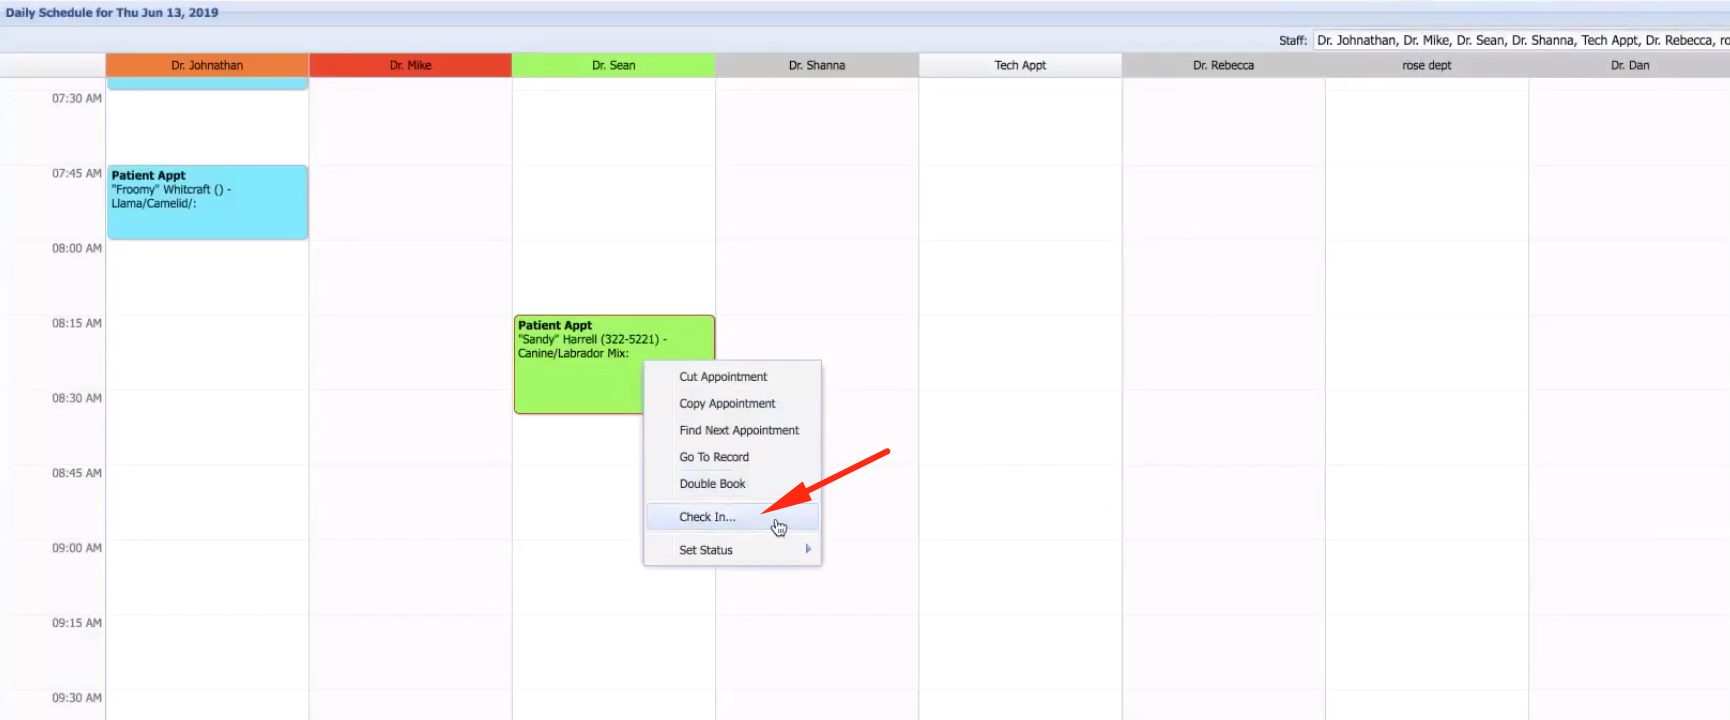
This is how it will look at the Appointment scheduler. Click to create a new appointment, input patient and client information, and save the appointment:

Check in the patient to the appointment:
You will see the pop-up window saying to select Reason:

In a few seconds, this patient will be sent automatically to Smart Flow. You will be able to see a notification window in the top right corner saying that the patient has been sent to Smart Flow:

We hope you found this information useful!
Did you find it helpful?
Yes
No
Send feedback Sorry we couldn't be helpful. Help us improve this article with your feedback.