How can I use the Analytics tools?
Print
Modified on: Wed, 25 Mar, 2020 at 5:23 AM
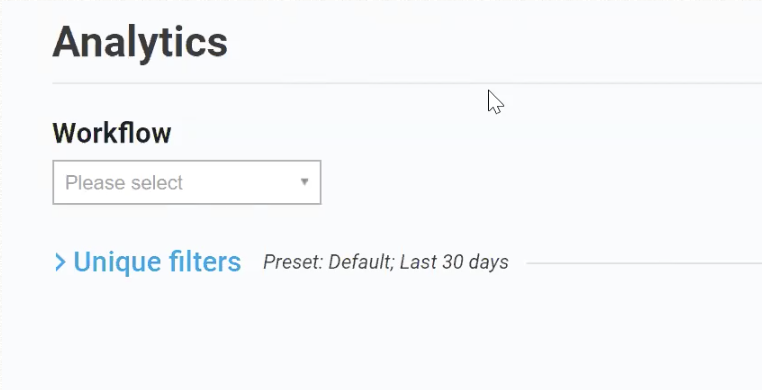
Any saved treatment templates in your account, which include tasks/workflow, will be automatically included in the menu Workflow's menu in Analytics. You can select a Template from the dropdown menu. Just tap the name of required Template into a field:

Let's begin by selecting some Unique filters (e.g., Dates period, Doctor, Problems):

Once you have selected your unique filters, click the SAVE button & give the preset a suitable name for future reference:

You may compare the saved presets & even save these as Views for the future comparison. This is useful for comparisons of Doctor to Doctor or Period time to Period time.
Just click on +ADD TO COMPARISON button below the Workflow:

You may compare dates just by opening the Unique filters and selecting a necessary time period.
Here we have a saved View which is a comparison of two saved Presets - Dr. Johns vs. Ivan:

Let's take a closer look at the tasks & goals within these workflows and how we set them
First, we will look at the individual task Discharge Instruction and find out more details about the values on it:

Task name: Discharge Instruction
Timer button locates on the right side of the task name
12 min. - average time to be completed
42 rep. - How many times the task was checked off
Goal (also, it's possible to set the goal).
NOTE: It is possible to edit these goals by clicking on Edit Goals button on the ride side of the Workflow:

Also, set the goal (time) at any tasks next to the H (hour) and M (minutes):

Click the Timer button if you want to remove the task from the Analytics workflow:

For example, Call the Owner task. The timing of this task may not concern you if you wish to know that it’s completed at some point. The total workflow time stays the same. The time is automatically added to the next task.
NOTE: Removing the task from the Analytics DOES NOT remove it from the Whiteboard. It will still appear as a task on the Whiteboard but without a timer. If you wish to switch that action back, click the Timer one more time.
A few important things to note regarding Workflows & Tasks
Subtasks exclude from the workflows. The main reason is that you can pass tasks to the next person, whereas Subtasks are more of a checklist/reminder - you are not going to pass these on to someone else.
On the Whiteboard, any tasks that include in Analytics workflow are locked:

You have to set the workflow goals within the Analytics, and if you don’t have a goal set, you can still amend them. You can still add, edit, and change tasks, put them in-between the existing tasks, but they won’t be accounted for within the workflow Analytics.
NOTE: The task timers on Whiteboard count DOWN, rather than counting forward!
Toggling this slide allows you to control when the Analytics starts reporting on the workflow:

This is useful if you prepare your patients in Smart Flow the day before. For example, the first task could be Transfer to Surgery. Once that task is completed, the timers will then start.
How do you view your performance?

Red Tasks show that you have exceeded your goal by double the time or more
Orange Tasks show that you have exceeded your goal by less than double the time
Green Tasks mean that you have achieved your goal on time.
NOTE: The task blinks on the Whiteboard and starts counting forward to indicate how far behind you are.
ALSO NOTE: The monthly report will be sent on the 1st day of each month to your email address.
If you require any further assistance with setting up / using the Analytics tool, please contact our Support Team.
We hope you found this information useful!
Did you find it helpful?
Yes
No
Send feedback Sorry we couldn't be helpful. Help us improve this article with your feedback.