How do I create Forms?
Print
Modified on: Thu, 23 Jan, 2025 at 12:58 PM
SmartFlow enables you to create different kinds of digital forms according to your clinic's preferences. This option is accessible in the Forms section within your web account: Settings > Forms.
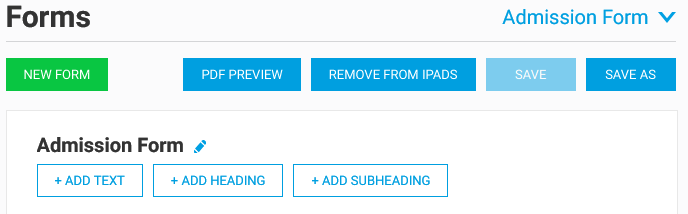
You can start creating a form by pressing the NEW FORM button:

Upon pressing it, a popup window will appear. From this window, you can choose an existing form from the drop-down menu if you need to create a copy of the form or create an entirely new form. Make sure you give your form a Title and Internal Name that can easily be identified by all clinic staff:

NOTE: At this point, you can also customize the form settings:
Show Photo - select YES to show a patient photo on the form;
Show on Main Screen - select YES to make the form accessible from the main screen (please find more details HERE);
Retain report after discharge - Set to YES to ensure that the completed forms are stored.
Request passcode - if you expect the form to be filled by someone other than the clinic staff, for safety reasons we recommend setting this toggle to YES. This will prevent access to any part of the SmartFlow iPad application without entering a password.
NOTE: If your clinic has User Security on the iPad enabled, each user will be prompted to enter an individual passcode at any time while working on the iPad. Otherwise, the clinic's manager will need to set up a common Forms passcode and share it with the team.
Please do not forget to click the DONE button.
Then, add the sections you would like to be included in your form: headings, static text, and interactive fields.
For a better view, you can divide the forms into sections using headings and subheadings:

Please use the ADD HEADING and ADD SUBHEADING buttons to customize the form view. Click the appropriate button, insert the heading / subheading text into the Static Heading / Static SubHeading popup, and click SAVE:
If you want to add any text to the form, simply click Add Text button, and the Static Text field will appear:
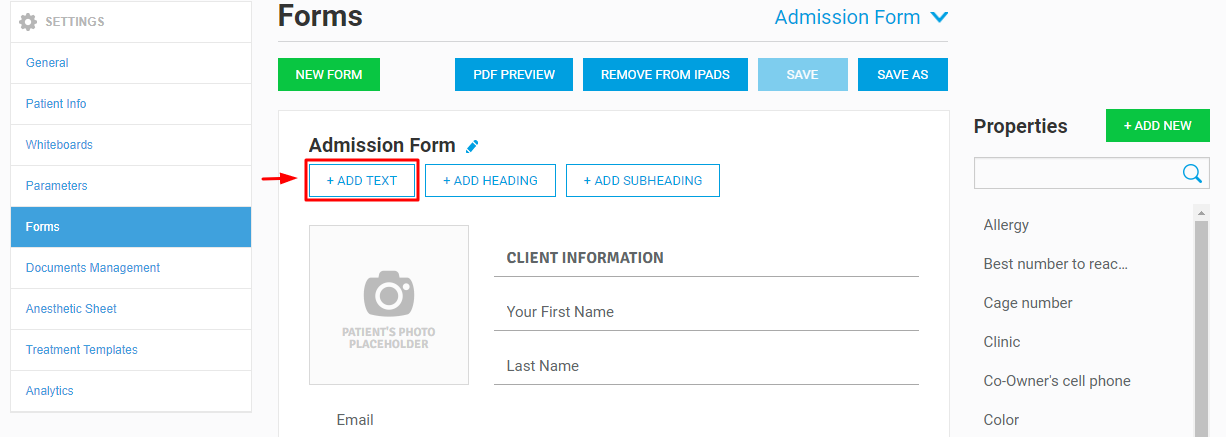
Insert all the necessary text into the Static Text popup:

Also, you can create a unique form by adding various interactive fields that can be filled out once necessary. To do this, use the Properties that have already been created (listed to the right of the form) or create your own by clicking + ADD NEW button in the upper right corner of the form (for more information, please read THIS article).
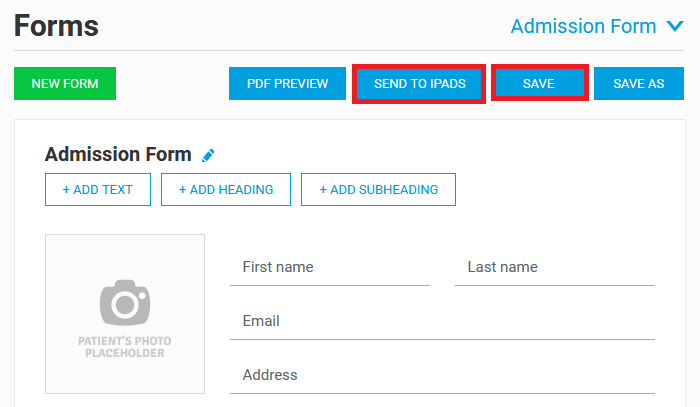
Once done, Save your form, and then Send to iPad:
Thereafter, you can access your previously saved forms both from the iPad when you create new patients.
We hope you found this information useful!
Did you find it helpful?
Yes
No
Send feedback Sorry we couldn't be helpful. Help us improve this article with your feedback.